Have you ever looked at a beautiful mountain range and wished you could capture that grand feeling on paper? Maybe you've tried to sketch a peak or two, only to feel a bit lost about how to make it look real, or just simply good. Well, you're certainly not alone in that feeling, and it's actually a very common starting point for many aspiring artists.
Learning how to draw mountains can seem like a big task, especially with all those jagged lines and vast spaces. But honestly, it's a lot more approachable than you might think. We're going to walk through how to create some truly impressive mountain scenes, starting with very simple shapes and building up to something quite detailed. You'll find that with just a few pointers, you can bring the majesty of these natural giants to life right on your page, you know?
This guide is here to show you how to draw mountains with easy steps and materials, making the whole process fun and rewarding. We'll explore ways to create a realistic mountain range, playing with light and shadow, using different lines, and adding interesting textures. So, get your drawing tools ready, because we're about to start sketching some breathtaking mountains and bring your art to new heights, really.
- Wagon Wheel Writer
- Are Wax Melts Harmful
- Koala In A Pouch
- Cristiano Ronaldo Brothers And Sisters
- Tinky Winky And Po
Table of Contents
- Getting Started with Mountain Shapes
- Sketching the Outline and Basic Form
- Adding Realism with Light and Shadow
- Bringing Your Landscape to Life
- Common Questions About Drawing Mountains
Getting Started with Mountain Shapes
When you first think about drawing mountains, you might picture something incredibly complex, with all sorts of ridges and valleys. But, honestly, the secret to drawing mountains, especially for those just starting out, is to break them down into their most basic forms. This approach makes the whole process much less intimidating, you know?
Simple Peaks for Beginners
To start, consider the simplest mountain shape: a triangle. Yes, it’s really that straightforward. You can begin by sketching a basic triangle. This will be the tallest point of your mountain. From there, you just add some wild zigzags along the sides to give it that natural, rugged look. It’s a pretty effective way to get going, actually.
This simple triangle method is perfect for kids and beginners alike. It lets you get a feel for the general shape without getting bogged down in too much detail right away. You can make your triangles tall and slender, or short and wide, depending on the kind of mountain you want to show. It's all about playing with these fundamental components to see what feels right, you know?
Once you have your basic triangle shape, you can start to think about adding a few more. Drawing mountains step by step is very much about stacking these triangles, creating a range rather than just one peak. This helps you map out those tall peaks before you even think about diving into smaller details. It's a foundational step, really.
Layered Mountains for Depth
After you feel comfortable with simple peaks, you can try drawing layered mountains. This technique helps create a sense of distance and depth in your drawing. You simply draw mountains behind other mountains, making the ones further away appear lighter and less detailed. It's a clever trick to add more interest to your scene, you see.
To create this layered effect, you might start with a mountain closer to you, then draw another one slightly overlapping it in the background. The one in the back should be a bit lighter in tone, perhaps with fewer sharp details. This visual trick helps your viewer's eye understand that there's space between the peaks, which is quite effective.
Mastering these two common mountain shapes – simple peaks and layered mountains – will truly make your mountain drawings look more realistic and expressive. It's all about understanding how these basic forms interact with each other to build a complete scene. So, practicing these shapes is a really good idea, honestly.
Sketching the Outline and Basic Form
Once you have a handle on the fundamental shapes, the next step is to sketch the entire outline of your mountain landscape. This initial sketch is like the skeleton of your drawing; it provides the structure before you add all the lovely details. It's a very important stage, too.
Using Reference Photos to Guide Your Hand
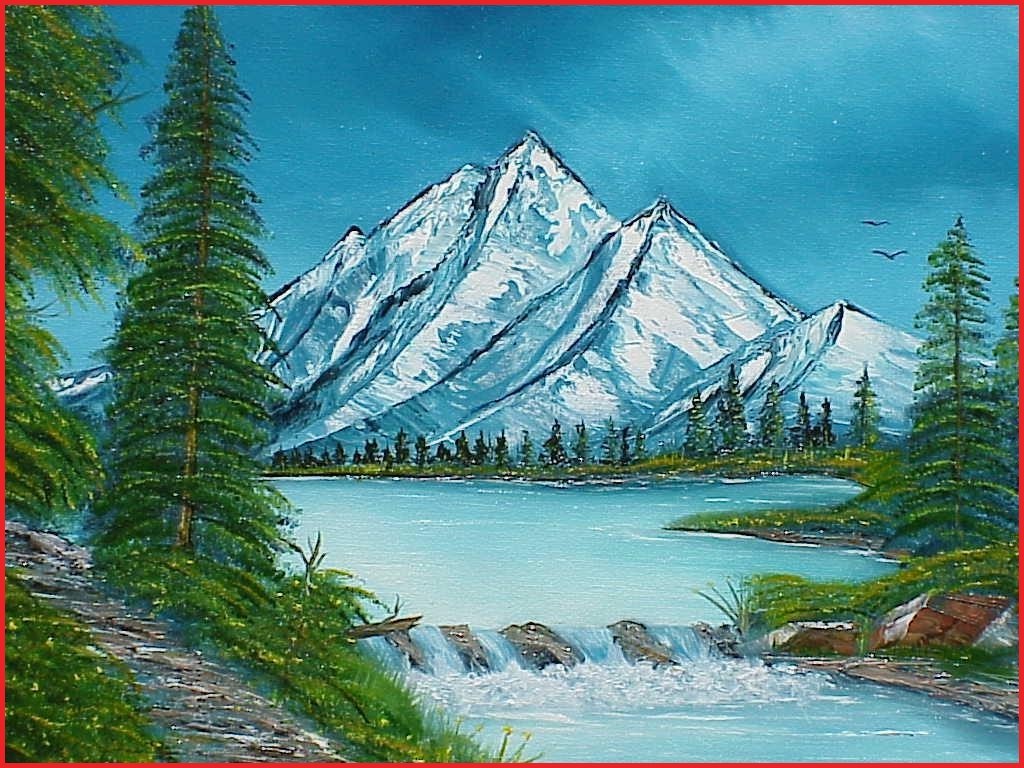
A great way to ensure your mountain landscape looks natural is to use a reference photo. Find a picture of a mountain range that you really like, and then sketch the outline and shading based on what you see. This isn't about copying exactly, but rather about learning from nature's own designs. It's a very helpful practice, you know.
Looking at a reference photo helps you see how real mountains are shaped, how they rise and fall, and where the light naturally hits them. You can pick up on subtle curves, unexpected jagged lines, and the overall flow of the terrain. This guidance can be incredibly useful, especially when you're trying to achieve a more realistic feel, that's for sure.
So, take a moment to study your chosen reference. Notice the general silhouette of the mountains against the sky. How do the different peaks connect? Are some steeper than others? Paying attention to these things will really improve your initial sketch, actually.
The Power of Triangles and Zigzags
As we talked about, stacking triangles and wild zigzags is a core part of mapping out those tall peaks. Start by sketching the tallest point, then gradually add the surrounding peaks, thinking of them as variations of these simple shapes. This helps you get the general arrangement down before you refine anything, you see.
When you're drawing these zigzags, don't worry about making them perfect or uniform. Real mountains have irregular, unpredictable lines, and that's part of their charm. Let your hand move freely, creating those natural, uneven edges that make mountains look so compelling. It's about capturing that wildness, really.
Remember, this stage is all about the basic structure. You're not adding tiny rocks or trees yet. Just focus on getting the overall shape and proportion of your mountain range correct. This foundation will make all the later steps much easier and more effective, too.
Adding Realism with Light and Shadow
Learning how to implement light and shadow into your drawings is one of the most powerful ways to make your mountains look realistic and truly pop off the page. Without good light and shadow, your mountains might look flat, but with them, they gain incredible depth, you know?
Creating Contrast and Texture
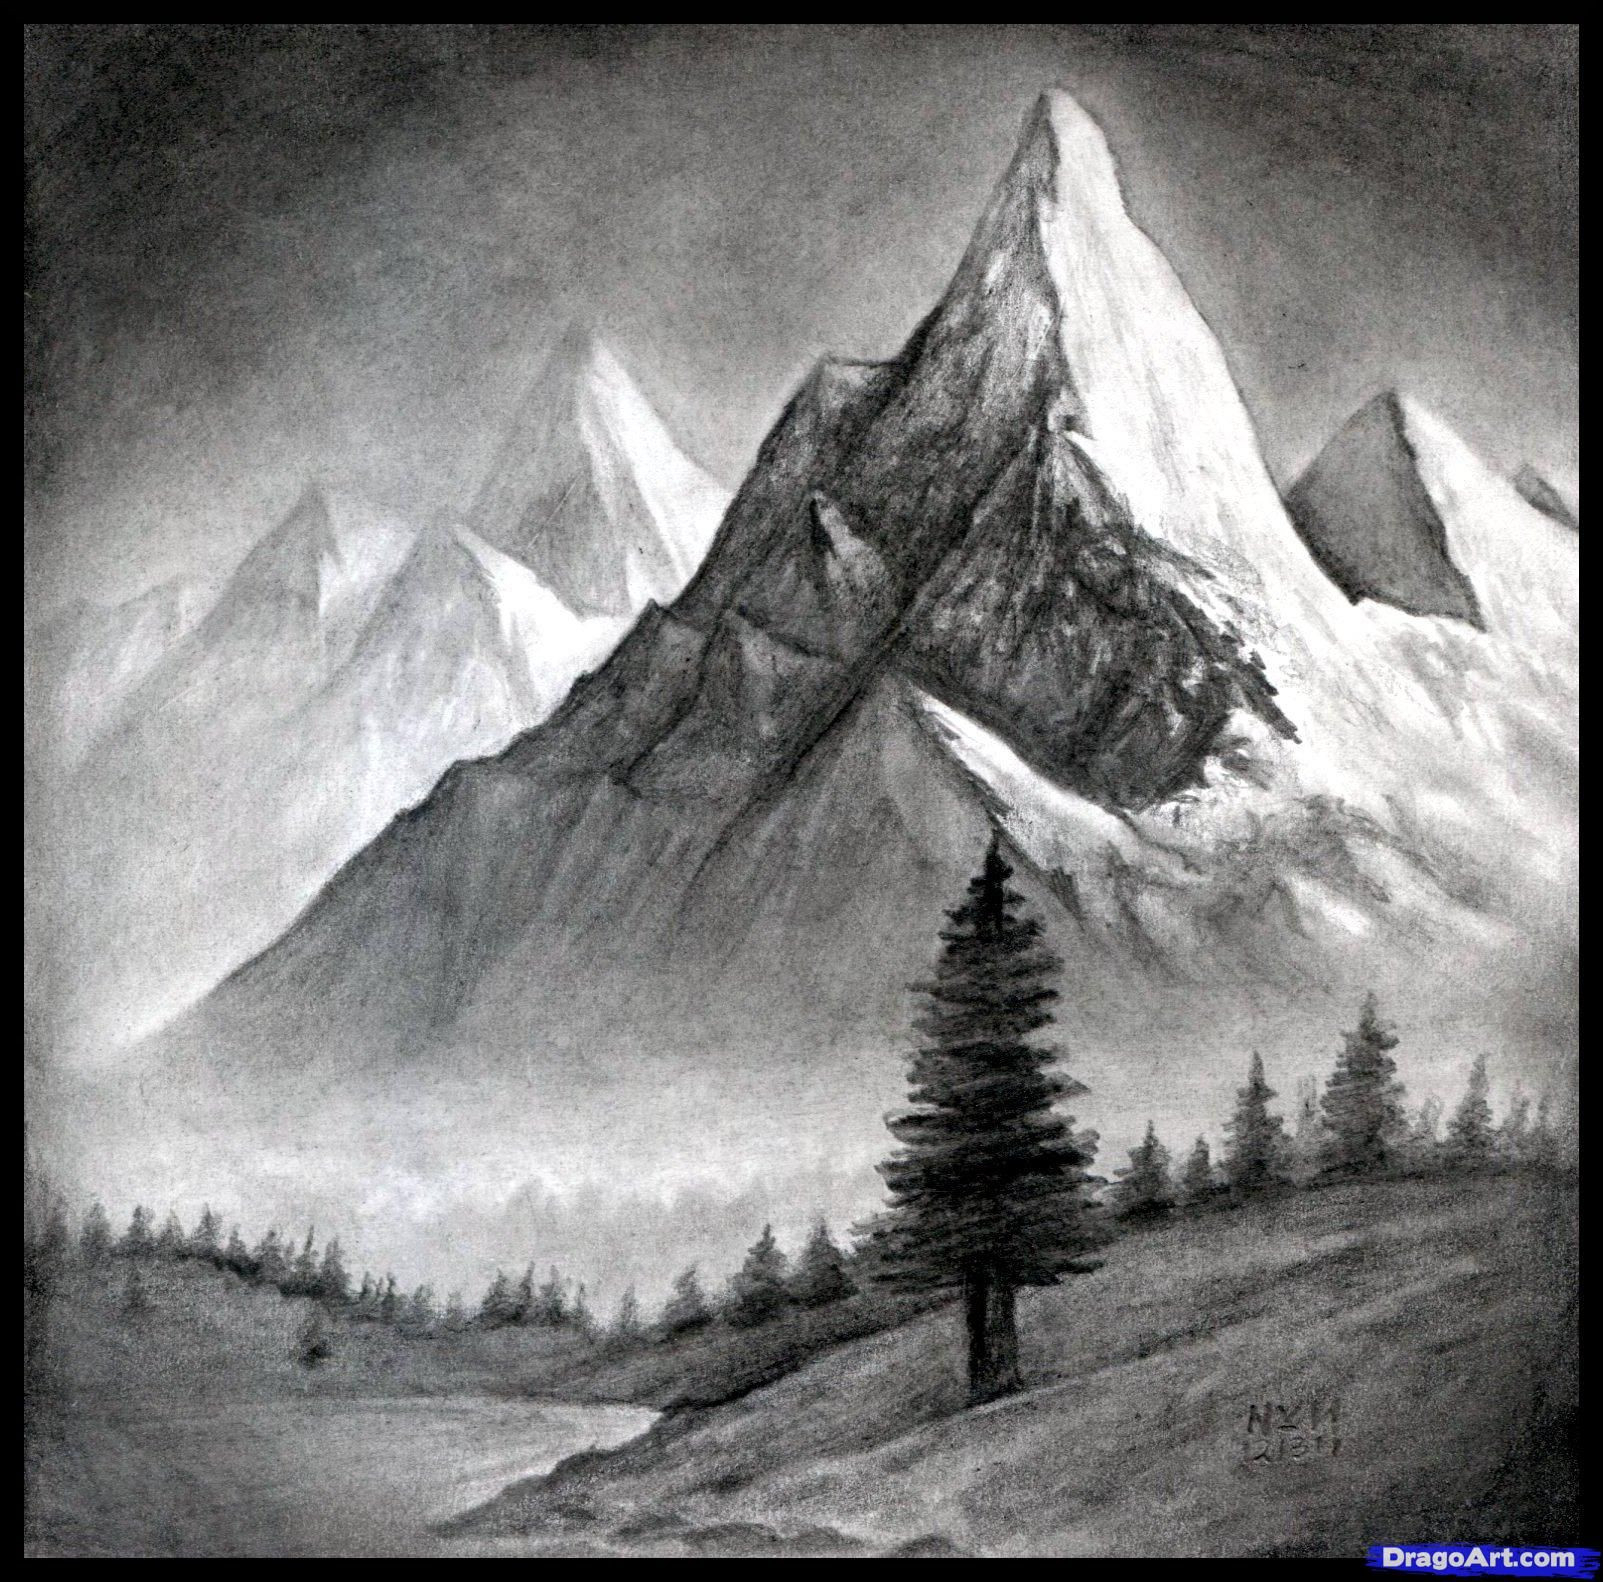
One of the simple tricks to create realistic and expressive mountain landscapes is to focus on contrast and texture. Think about where the light source is coming from. The sides of the mountains facing the light will be brighter, while the sides away from the light will be in shadow. This difference creates a striking contrast that gives your mountains form, very much so.
To add texture, consider the surface of the mountain. Is it rocky? Smooth? Covered in snow? Use different types of lines and shading techniques to suggest these textures. Jagged, short lines can show rocky surfaces, while smoother, blended shading can indicate snow or distant, hazy peaks. It's about giving the surface a believable feel, you see.
You can also use cross-hatching or stippling to build up darker areas and create a sense of ruggedness. Don't be afraid to make some areas quite dark to really push that contrast. This play between light and dark is what makes the mountain look three-dimensional, actually.
Understanding the Horizon Line
Finding out how to determine the horizon line is a key step in creating a believable landscape. The horizon line is where the sky meets the ground, and it helps establish the perspective of your drawing. Mountains will rise above this line, giving them their imposing presence. It's a simple but very important detail, really.
Once you have your horizon line, you can start to divide the peaks into plains. Think of a mountain not as one solid mass, but as different flat surfaces facing in various directions. Each of these "plains" will catch the light differently, or be in shadow, depending on their angle relative to your light source. This is how you create those subtle shifts in tone that make a mountain look so solid, you know?
So, sketch a light line for your horizon. Then, as you draw your mountains, imagine how the light would fall on their many faces. This helps you decide where to place your lighter and darker shades, adding to the mountain's overall structure and realism. It's a bit like sculpting with your pencil, actually.
Bringing Your Landscape to Life
A mountain drawing doesn't have to stop at just the peaks themselves. Adding more elements to your landscape can truly bring the whole scene to life, making it feel complete and vibrant. It's about telling a bit more of a story with your art, you know?
Adding Elements: Trees, Snow, and Rocks
Follow the instructions and tips to create depth, light and shadow effects, and add more elements to your landscape. For instance, trees can be added at the base of the mountains or climbing up their lower slopes. Simple shapes for trees can work wonders, especially if they are further away. You don't need to draw every single leaf, just the general form, which is quite effective.
If you're drawing a winter scene, adding snow to the peaks can really change the feel of your drawing. Snow often collects in certain areas, like crevices or flatter ledges, so think about how it would naturally lie on the mountain. This adds a beautiful touch, really.
Rocks, too, can add incredible detail and texture. You can draw individual rocks in the foreground or suggest rocky outcrops on the mountain faces using small, sharp lines and varying shades. These small details, even if they are just suggested, can make a big difference in how realistic your drawing feels, you see.
You can see how to draw mountains, landscapes, trees, snow, and rocks with pictures and tips in many online resources. For more inspiration on adding various elements to your landscape, consider looking at art instruction blogs. They often have specific tutorials for these kinds of details, which is quite helpful.
Exploring Different Styles and Materials
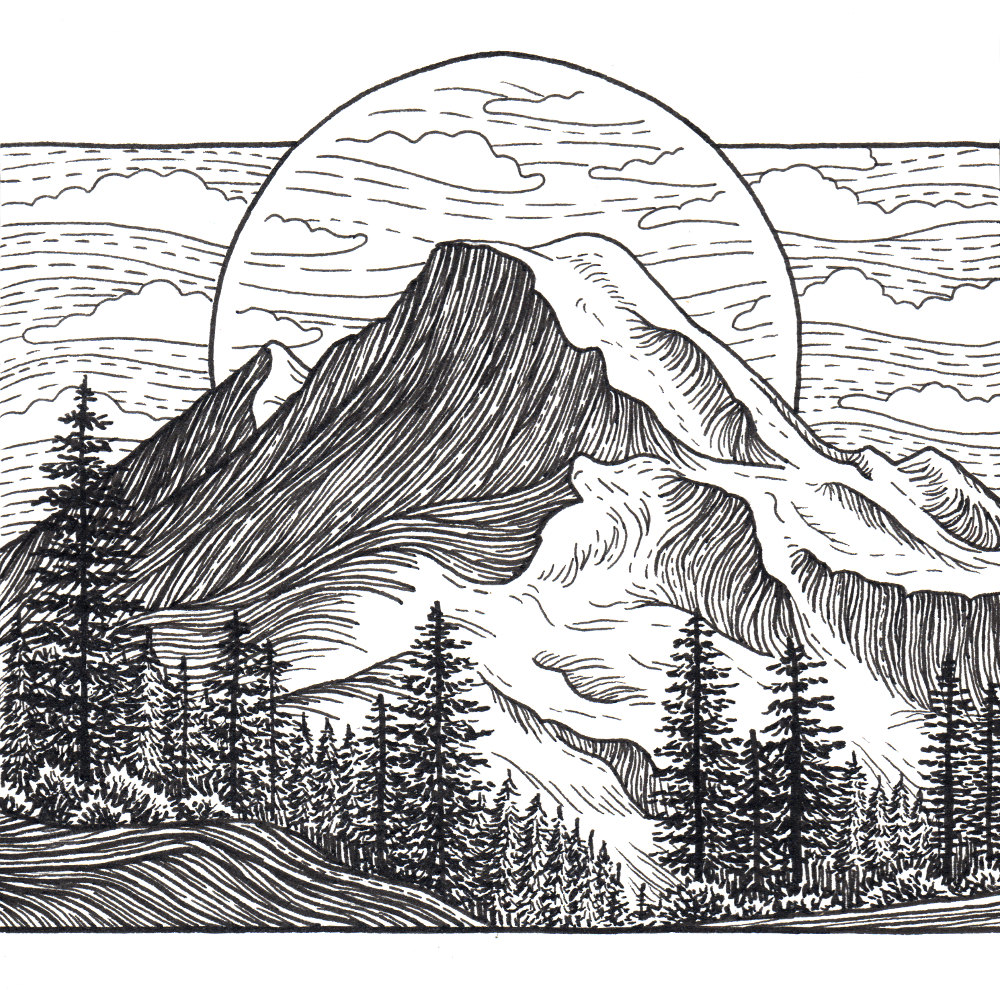
Learn how to draw mountains with different shapes, styles, and rock formations. Not every mountain drawing has to be super realistic. You can explore more stylized approaches, or even abstract interpretations. The beauty of art is that you can make it your own, you know?
Explore materials, tools, and methods to create realistic and compelling mountain drawings. You might use pencils for a classic look, charcoal for deep shadows, or even pens for a more graphic, line-focused style. Each material brings its own unique qualities to the drawing, offering different ways to express the mountains' character. It's worth experimenting, honestly.
Some artists prefer a very smooth, blended look for their mountains, while others love to emphasize rough textures with visible strokes. There’s no single "right" way to draw. It's about finding what you enjoy and what helps you express the beauty you see. So, try out different things and see what happens, really.
This tutorial, for instance, focuses on how to draw mountains in a way that is quite simple and can be used to create a set with the same method. This means you can apply these basic techniques to many different mountain scenes, building up your skills over time. It's a good foundation, you know?
Common Questions About Drawing Mountains
People often have a few questions when they're getting started with drawing mountains. Here are some common ones that come up, which might help you too.
How do you draw a simple mountain?
You can draw a simple mountain by starting with a basic triangle shape. Then, add some jagged lines along the sides to make it look more natural. You can then add another, slightly smaller triangle behind it for a sense of depth. It's a very straightforward way to begin, you know?
What are the basic shapes for mountains?
The most basic shapes for mountains are triangles and trapezoids. These simple geometric forms provide a great starting point for the peaks and slopes. You can then modify these shapes with irregular lines and curves to make them look more organic and realistic, which is quite effective.
How do you add shading to mountains?
To add shading to mountains, first decide where your light source is coming from. Then, shade the sides of the mountains that are facing away from the light, making them darker. The sides facing the light should remain lighter. You can use different pressure with your pencil or various hatching techniques to create varied tones and textures, really.
Learning how to draw mountains is a great way to learn how to implement light and shadow into your drawings, and it’s a skill that will help you with all sorts of other subjects too. It's a very rewarding artistic pursuit, honestly. Learn more about drawing techniques on our site, and link to this page for art supplies.
- Where Is Krystal Lee Kenney Now
- Womens Lightweight Summer Pants
- Spongebob Batman
- Self Reeling Hose Reel
- Wardrobe Malfunction On Tv