Giving someone a birthday card you made yourself feels pretty special, doesn't it? It's a way to show you put thought and care into their celebration. In a world full of quick texts and digital greetings, a handmade card really stands out. It's a little piece of art, made just for them, and that is that something truly unique.
Think about it: when you get a card that someone spent time creating, it just hits different. It tells a story, doesn't it? That person thought about you, picked out materials, and put their heart into making something just for your special day. It's a warm feeling, knowing someone cared enough to make that extra effort, so very lovely.
This whole idea of making things with your own hands, it brings a lot of joy. Like when people fix up their homes or build cool electronic gadgets, the process itself can be really fun. As they say in the world of DIY, the most important thing is to be happy while you're doing it. Making a birthday card is very much like that; it's a creative journey where the real reward is the happiness you feel while crafting, and the smiles you bring to others, too it's almost a given.
- Amber Alert Cincinnati
- When Is Lou Gehrig Day Why Is It June 2
- Running A Train On Wife
- Sylvester Stallone Photos
- Nephew Day
Table of Contents
- Why Make Your Own Birthday Cards?
- Getting Started: What You'll Need
- Simple Ideas for Stunning DIY Birthday Cards
- Tips for Making Your Cards Look Amazing
- Frequently Asked Questions About DIY Birthday Cards
- Keeping Your Card-Making Journey Fresh
Why Make Your Own Birthday Cards?
Making your own birthday cards offers so many good things. It's not just about saving a few pennies, though that's nice too. It's about giving something truly from the heart. You get to put your own unique spin on a greeting, which is pretty cool, you know?
A Personal Touch That Really Counts
Imagine the look on someone's face when they open a card and realize you made it just for them. It's a moment of genuine connection, a feeling that a store-bought card just can't quite match. You can pick colors they love, add inside jokes, or even draw things that remind you of them. That level of personalization, honestly, makes a big impact.
It shows you really care, doesn't it? It says, "I spent time thinking about you." This kind of effort is often more valued than something bought quickly. It's a bit like fixing up a part of your house yourself; the pride and personal connection are just different, in a way.
- Mel Gibson Accent
- Hanna Montana Costume
- Robins Voice Actor
- Stephanie Ruhle Plastic Surgery
- Lieutenant Severide
Budget-Friendly and Fun
Buying cards can get quite expensive, especially if you have a lot of birthdays coming up. Making your own cards is a fantastic way to keep costs down. You can use materials you already have around the house, like old magazines, fabric scraps, or even dried leaves. It's pretty amazing what you can create with just a few simple items, more or less.
And the fun part? It's a creative activity! It's a chance to relax, put on some music, and just enjoy the process of making something beautiful. It's a bit like those who enjoy building their own computers or working on DIY repairs; the process itself is a source of happiness, that's for sure.
A Creative Outlet for Anyone
You don't need to be an artist to make a lovely card. Seriously! There are so many simple techniques that look amazing. From cutting out shapes to gluing on bits of glitter, anyone can do it. It's a chance to play with colors and textures, to let your imagination wander a little bit.
It's a wonderful way to express yourself, you know? Sometimes, words alone aren't enough, and a handmade card can say so much more. It's a bit like how some people enjoy electronic DIY or building drones; it's about the satisfaction of seeing your ideas come to life, virtually from scratch.
Getting Started: What You'll Need
You might be surprised by how few things you actually need to start making beautiful birthday cards. Most of these items are probably already in your home or can be found quite easily. You don't need a fancy craft room, just a clear table and a bit of enthusiasm, that's all.
Basic Supplies for Every Card Maker
To begin your card-making adventures, here are some common items that will be super helpful. These are the building blocks, so to speak, for nearly any card you might want to create. They are very versatile, too.
- Cardstock or Heavy Paper: This is your foundation. Regular printer paper is too flimsy. Look for paper that's a bit thicker, like 65lb or 80lb. It holds up better and feels more substantial. White, cream, or light colors are usually a good start.
- Scissors: A good pair of sharp scissors makes a world of difference for clean cuts. If you have different sizes, that's even better, one for big cuts, one for small details.
- Glue: A reliable craft glue stick or liquid glue that dries clear is important. Make sure it won't warp your paper. Some people prefer double-sided tape for a flatter finish, which is pretty neat.
- Pencils and Eraser: For sketching out your designs before you commit. It's always a good idea to plan a little, isn't it?
- Ruler: For straight lines and accurate measurements. This helps keep your card looking neat and professional, in some respects.
- Markers, Colored Pencils, or Crayons: For adding color, drawing designs, or writing your message. A basic set with a few different colors is perfectly fine.
Fun Extras to Make Cards Pop
Once you have the basics, you can start thinking about adding a little extra flair. These items aren't strictly necessary, but they can really make your cards shine and give them that extra special touch. You can find these at most craft stores, or even repurpose things from around your house, actually.
- Decorative Paper: Scrapbook paper, patterned paper, or even pages from old calendars can add wonderful backgrounds or accents. This gives your card more visual interest, obviously.
- Stickers: Easy to use and come in countless themes. They're a quick way to add images or sayings without needing to draw.
- Glitter: A little sparkle can go a long way. Just be careful, glitter tends to get everywhere! A fine glitter is usually less messy, you know.
- Ribbon or Yarn: For bows, borders, or even to create texture. A small piece of ribbon can really dress up a card, surprisingly.
- Buttons or Beads: These can add a lovely three-dimensional element. Just make sure they're glued on securely so they don't fall off.
- Stamps and Ink Pads: If you want to add repeating patterns or specific messages. There are so many fun stamp designs available, it's pretty wild.
- Washi Tape: Decorative tape that's easy to stick and re-stick. Great for borders or adding quick patterns. It's super versatile, too.
- Old Magazines or Newspapers: Cut out interesting words, pictures, or textures for a collage effect. This is a very budget-friendly way to add unique elements.
- Fabric Scraps: Small pieces of fabric can add a soft texture or a pop of color. Just make sure your glue can hold them well, naturally.
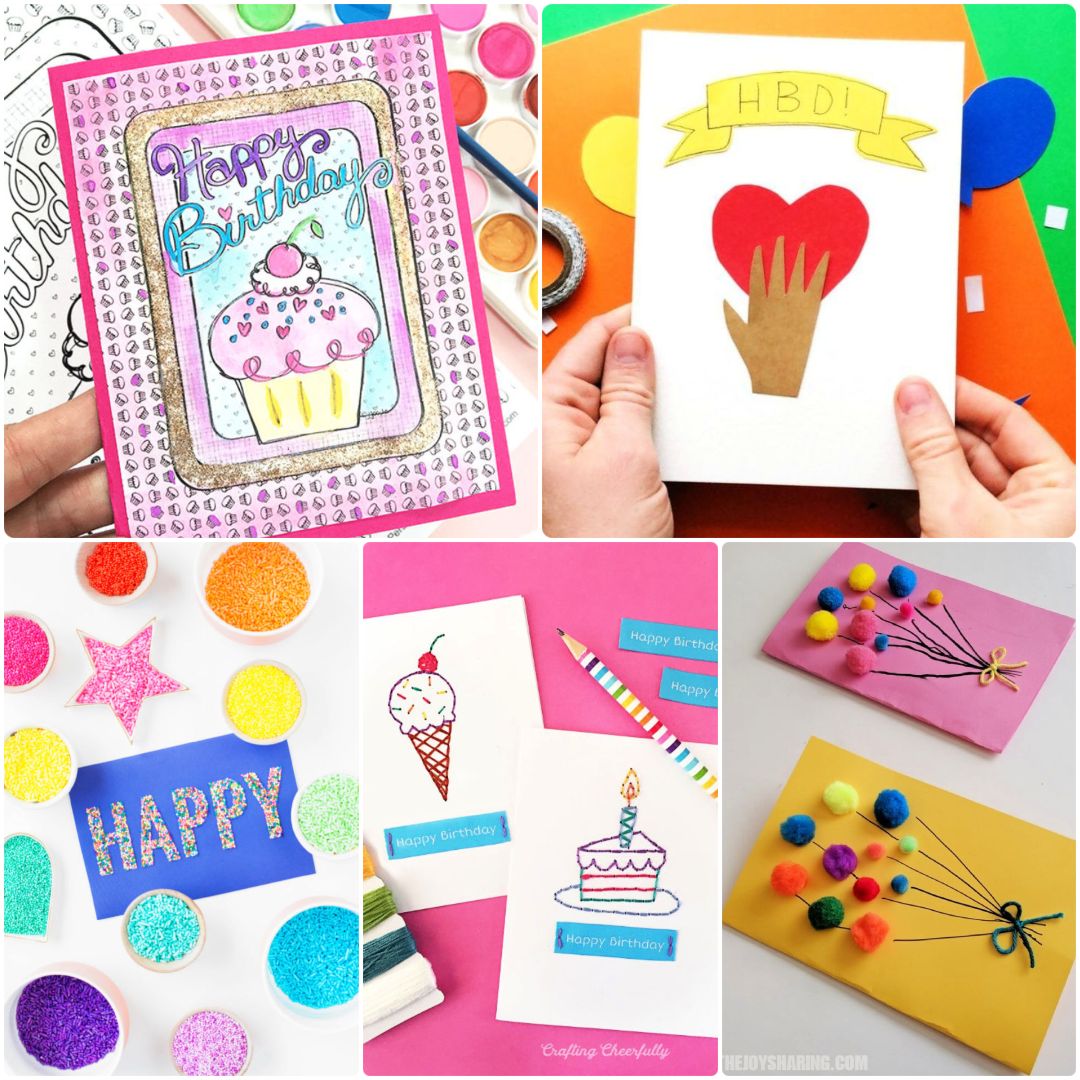
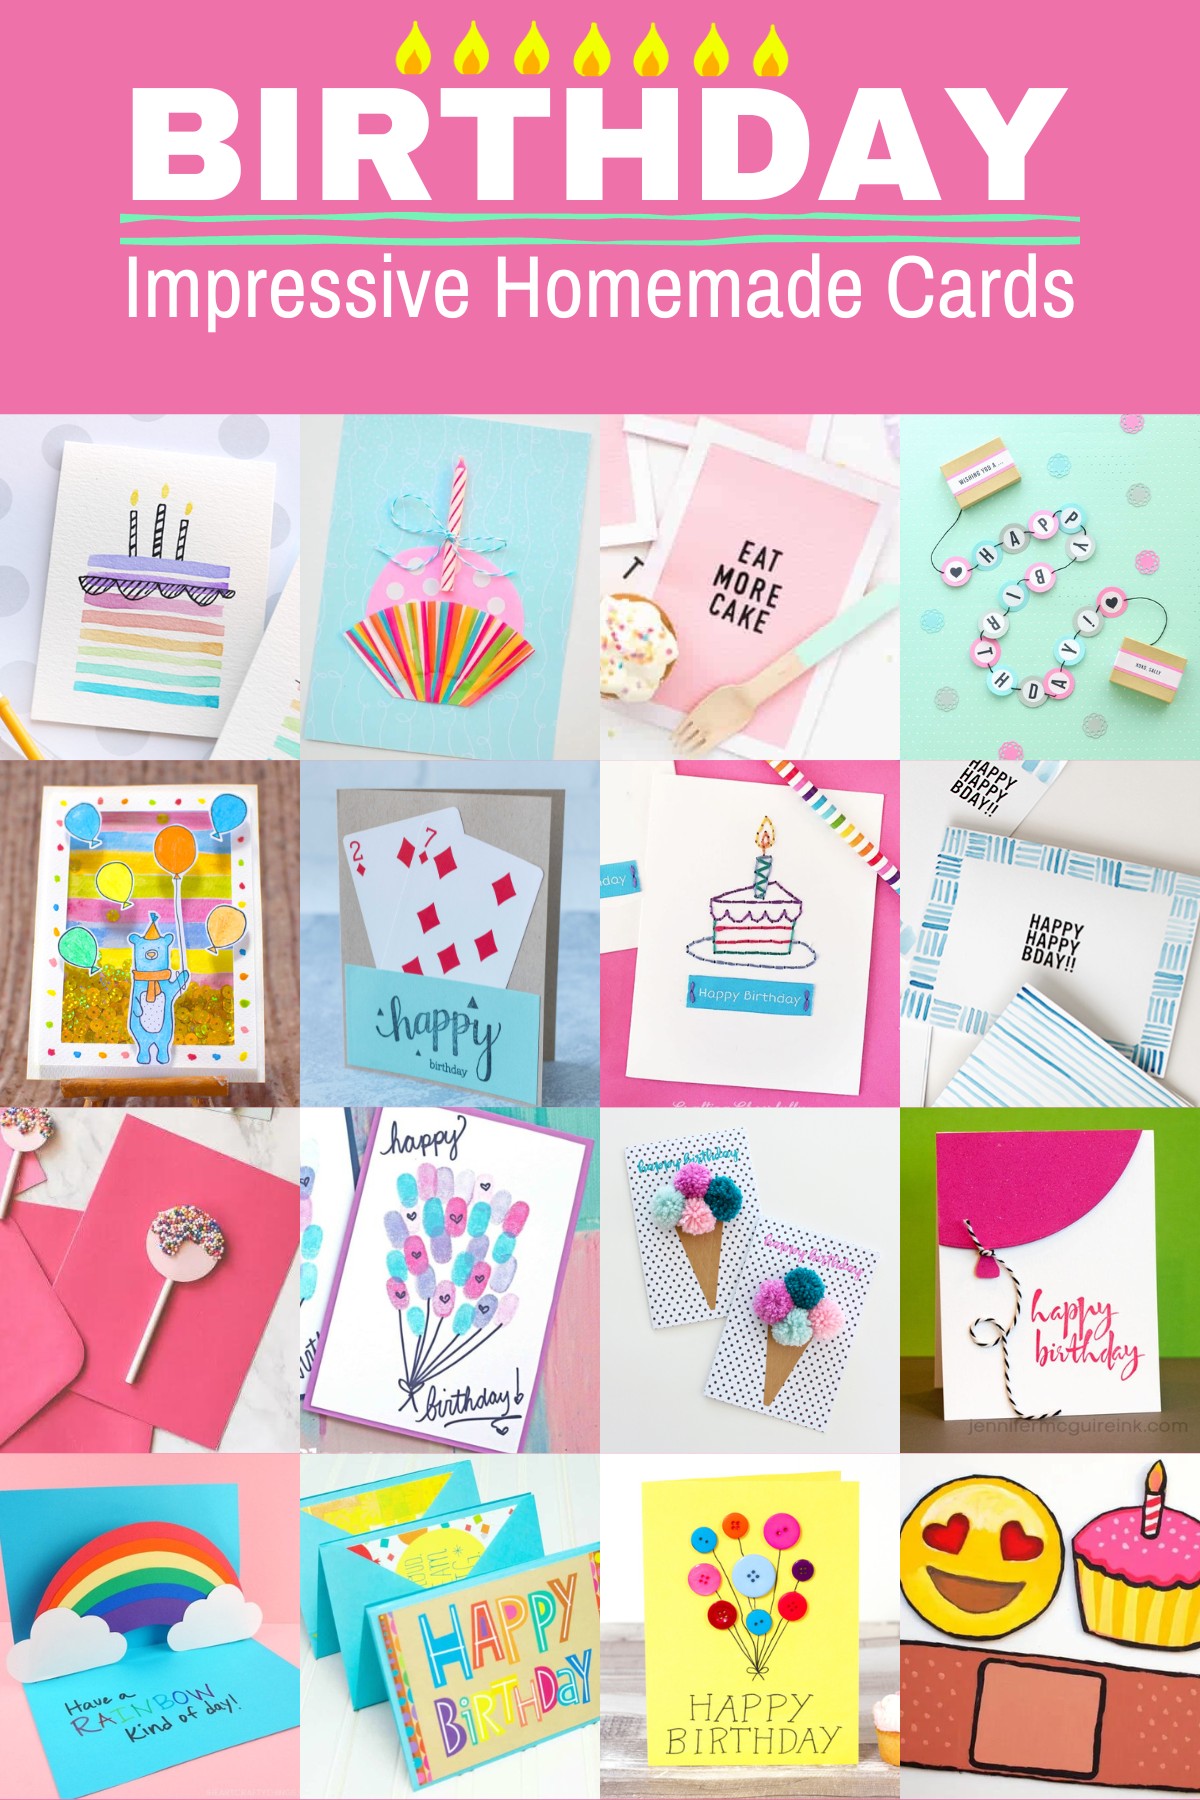
Simple Ideas for Stunning DIY Birthday Cards
Now that you have your supplies ready, let's get into some easy yet impressive ideas for your homemade birthday cards. Remember, the goal is to have fun and make something heartfelt, so don't worry about perfection. These ideas are just starting points, you can always change them up, more or less.
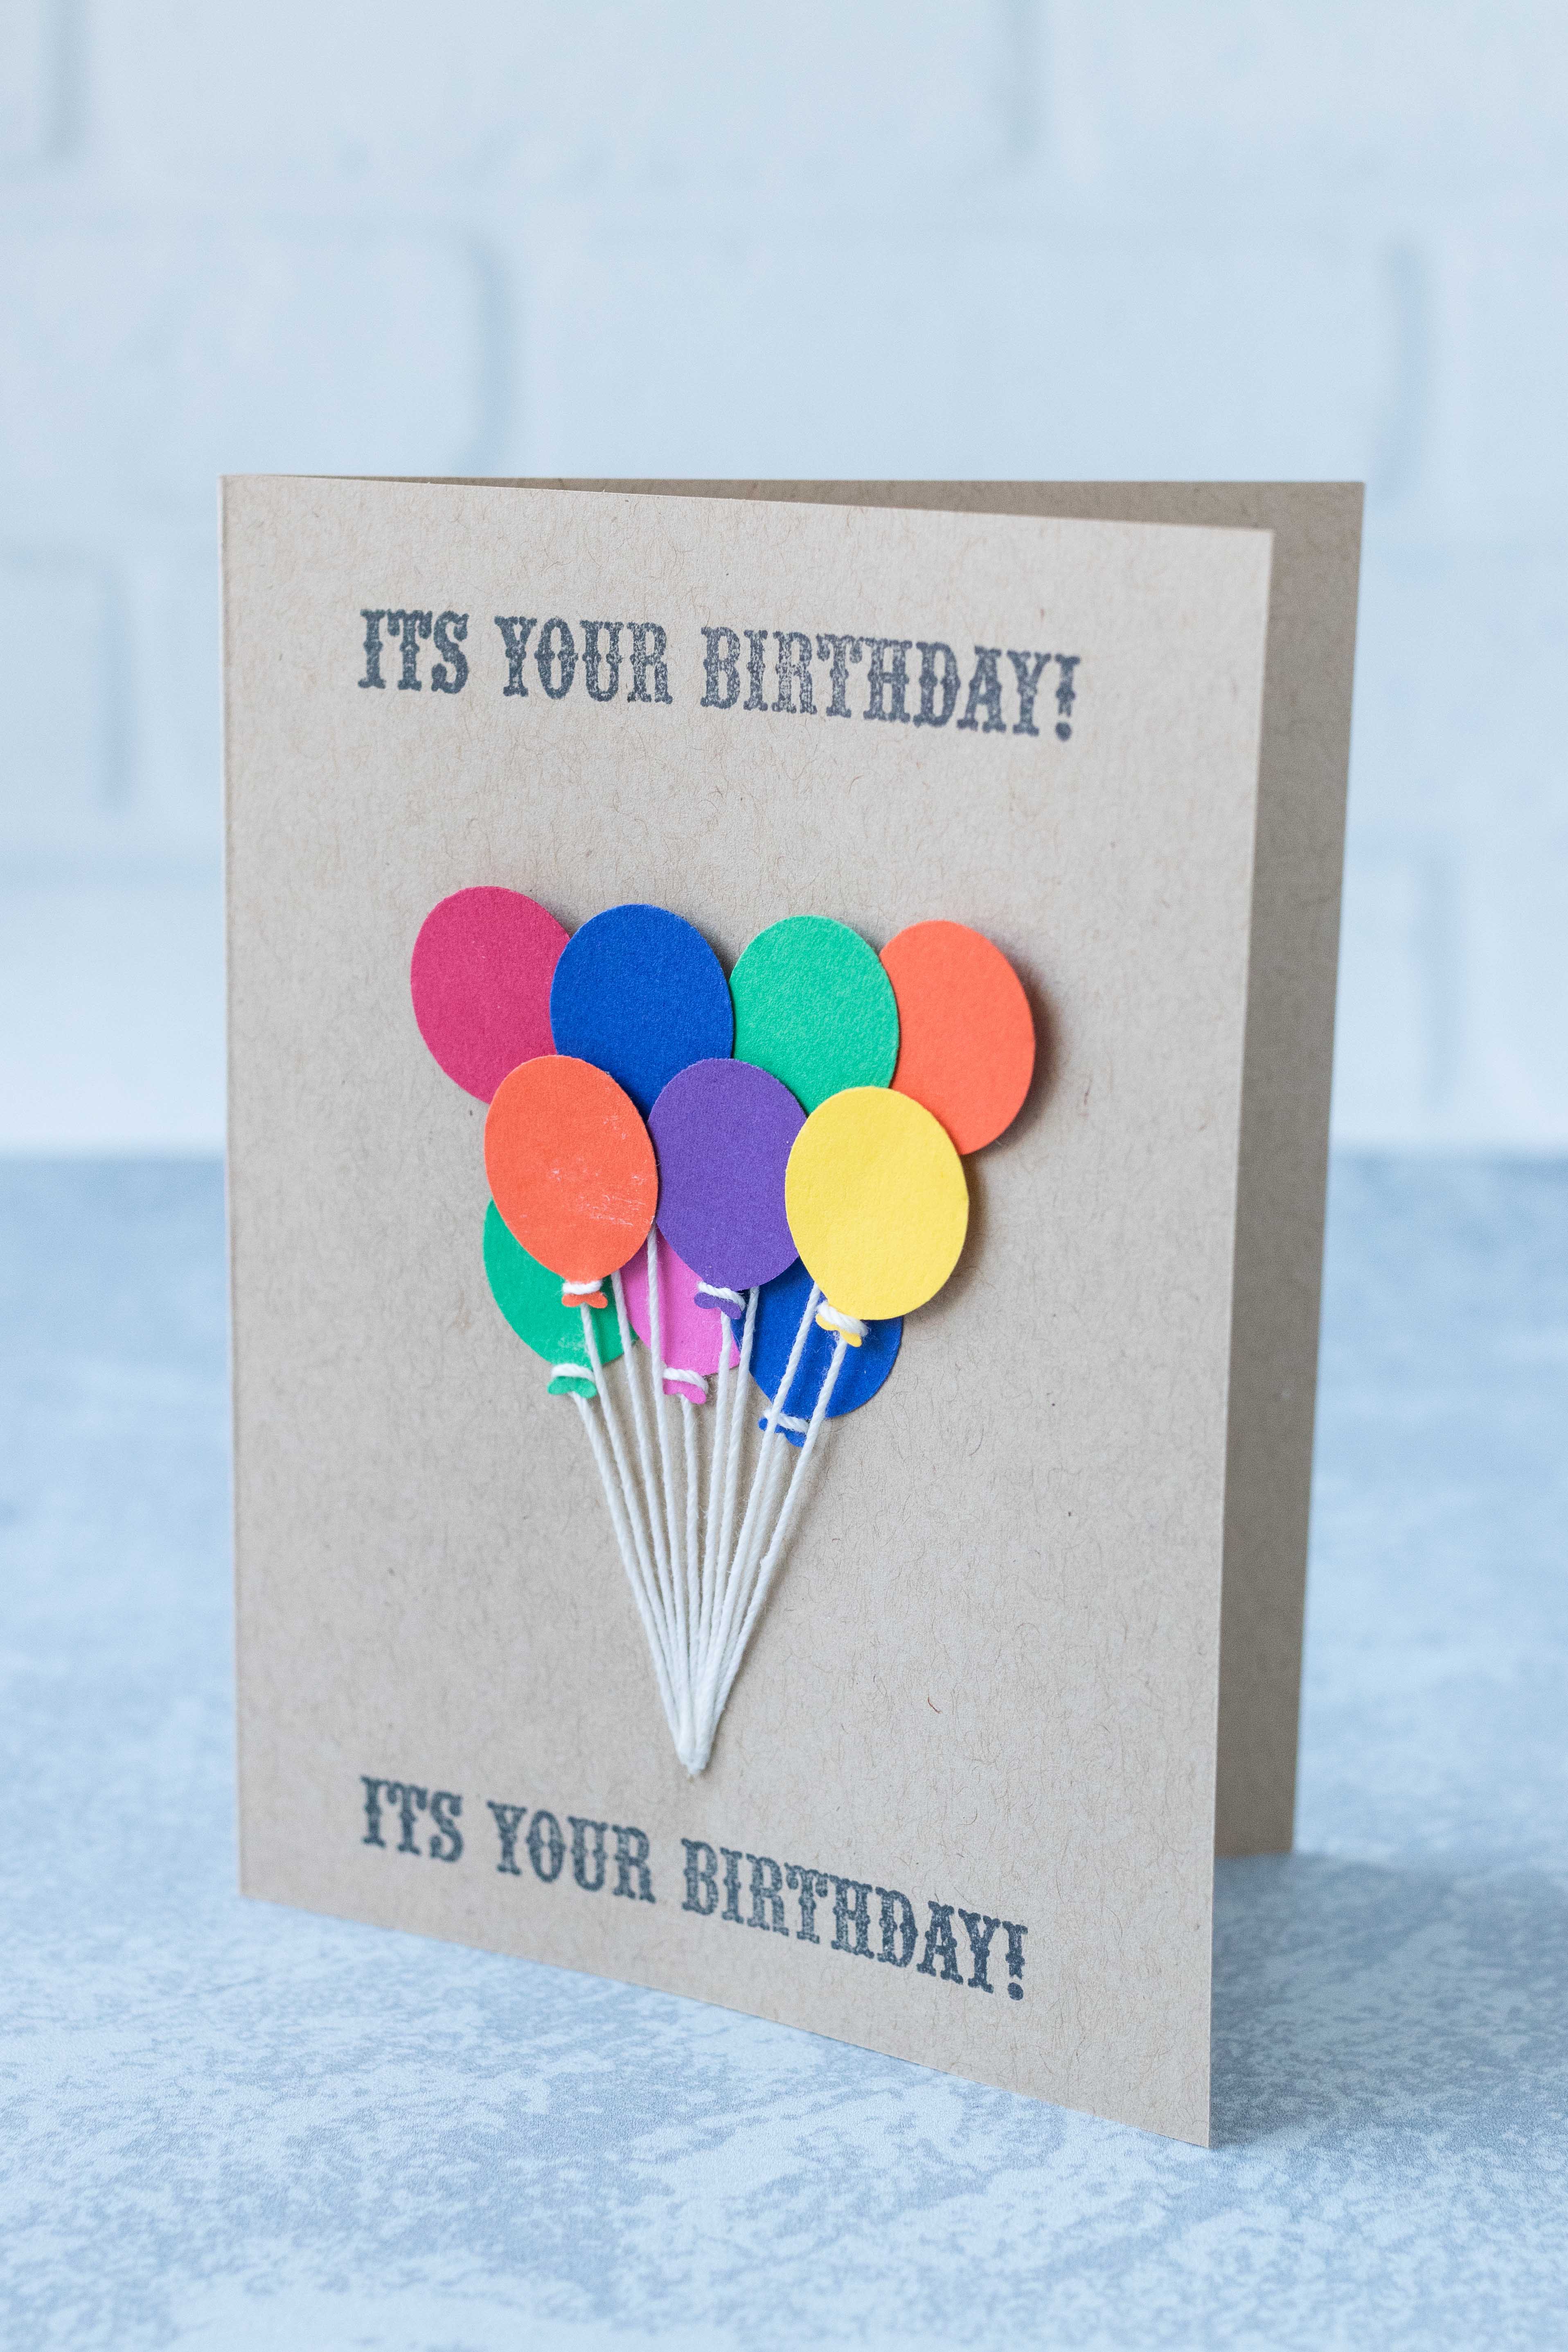
The Classic Fold-Out Card
This is probably the most common type of card, and for good reason: it's simple and offers plenty of space for creativity. You just need a piece of cardstock and a good fold. It's a tried and true method, pretty much.
How to Make It:
- Take a piece of cardstock, perhaps 8.5 x 11 inches.
- Fold it in half lengthwise or widthwise, depending on the card shape you want. Make sure the fold is crisp; you can use a ruler to press it down firmly.
- The front is your canvas. You can draw a picture, glue on some cut-out shapes, or add stickers. Maybe a big "Happy Birthday!" in fun letters.
- Inside, write your message. You could also glue in a smaller piece of contrasting paper for a layered look, which is a nice touch.
For example, you could cut out different sized circles from colorful paper and glue them onto the front like balloons. Or, if the person loves animals, draw their favorite pet. The possibilities are quite endless, you know?
Pop-Up Magic: A Little Surprise
Pop-up cards are always a hit because they add an element of surprise. They might seem a bit tricky, but there are some very simple ways to make them. It's a small bit of engineering, kind of like building a simple circuit for an electronics project, but for paper, you know?
How to Make It (Simple Version):
- Fold a piece of cardstock in half for the main card.
- Take another, smaller piece of cardstock. Fold it in half too.
- On the folded edge of the smaller piece, make two parallel cuts, maybe an inch or two long, about an inch apart.
- Open the smaller piece. The cut section should now push forward, forming a little platform.
- Glue this smaller piece inside your main card, making sure the pop-up section faces inward when the card is closed.
- Glue a small picture or a cut-out shape onto that pop-up platform. When the card opens, your image will pop out!
You could make a cake pop up, or a little gift box. It's a really charming effect, and honestly, it's not as hard as it looks. People are usually very impressed by them, too.
Layered Designs for Depth
Adding layers to your card gives it a professional and rich look without much extra effort. It creates visual interest and makes the card feel more substantial. It's a bit like adding different textures to a painting, giving it more character, you know?
How to Make It:
- Start with your main card base.
- Cut out a slightly smaller piece of patterned paper or a different colored cardstock. Glue this onto the front of your main card. This is your first layer.
- Then, cut an even smaller shape, perhaps a circle or a rectangle, from another piece of paper. This could be where you write "Happy Birthday" or add a central image.
- You can even use foam adhesive dots between layers to make them stand up a bit, creating a cool 3D effect.
For instance, you could have a solid colored base, then a layer of polka-dot paper, and on top, a small square with a hand-drawn cupcake. This technique adds a lot of visual appeal, very quickly.
Themed Cards: Something for Everyone
Making a card based on the recipient's interests makes it extra special. Do they love cats? Space? Music? You can build your whole card around that theme. It shows you really know them, which is pretty thoughtful, you know?
Ideas for Themed Cards:
- For the Animal Lover: Draw their favorite animal, or cut out pictures of animals from magazines. You could even use fluffy fabric scraps to make a furry texture.
- For the Gamer: Draw pixelated characters, or use blocky shapes like those from classic video games. Maybe even a little joystick shape.
- For the Nature Enthusiast: Press some small dried flowers or leaves onto the card. Use earthy tones for your paper. You could even draw a little landscape.
- For the Music Fan: Draw musical notes, a guitar, or a piano keyboard. You could glue on a small piece of old sheet music.
- For the Traveler: Draw a map, a globe, or famous landmarks. Use stamps of different countries if you have them.
The key here is to think about what makes that person unique. What do they talk about a lot? What are their hobbies? That's your starting point, essentially. It's about personalizing the gift, much like customizing a PC build for specific needs, which is quite satisfying.
Tips for Making Your Cards Look Amazing
Making a great DIY birthday card is about more than just putting paper and glue together. A few simple tricks can really elevate your creations and make them look polished and thoughtful. These little details really do make a difference, you know?
Planning Your Design a Bit
Before you start cutting and gluing, it's a good idea to have a rough plan. You don't need a detailed blueprint, but a quick sketch can save you from mistakes. It's like planning a home improvement project; a little foresight helps a lot, you know?
- Sketch it Out: Use a pencil to lightly sketch your design on a scrap piece of paper first. This helps you figure out where things will go and how they'll look together.
- Color Palette: Pick a few colors that go well together. You don't want too many clashing colors on one card. Three or four main colors usually work best, typically.
- Balance: Try to balance the elements on your card. If you have a big drawing on one side, maybe put a smaller detail or some text on the other to balance it out.
- Less Can Be More: Sometimes, a simple design with one strong focal point is more striking than a card packed with too many things. Don't feel like you have to use every sticker you own, honestly.
Adding Your Own Words
The message inside the card is just as important as the design. This is where you really connect with the person. A handwritten message adds so much warmth, very much so.
- Be Sincere: Write from the heart. Think about what you genuinely appreciate about the person.
- Specific Memories: Mention a specific memory or an inside joke. This makes the message feel very personal and special.
- Keep it Positive: Focus on happy thoughts and wishes for their special day.
- Practice Your Handwriting: If you're worried about your handwriting, practice your message on a scrap piece of paper first. Or, you could write it on a separate piece of paper and glue it inside, which is fine too.
- Sign Off Warmly: End with a warm closing like "Lots of love," "Thinking of you," or "Warmest wishes."
Even a short, heartfelt message is better than a long, generic one. It's about quality over quantity, really.
Don't Be Afraid to Experiment
The best part about DIY is that there are no strict rules. Feel free to try new things, mix different materials, and just play around. Some of the coolest creations come from unexpected combinations, you know? It's like those who work on DIY electronics; sometimes the most interesting things happen when you try something a little different, just a little.
- Repurpose Items: Look around your house for things you can use. Old buttons, fabric scraps, even bits of packaging can become interesting card decorations.
- Try New Techniques: If you usually draw, try cutting out shapes. If you usually use glue, try double-sided tape or foam dots.
- Learn from Others: Look online for inspiration. There are tons of ideas out there. You can get ideas from websites that share DIY projects, similar to how you might find ideas for home repairs or drone building. For more general crafting ideas, you could check out a site like a well-known craft supply site for inspiration.
- Don't Stress About Mistakes: If something doesn't turn out perfectly, it's okay! It's part of the handmade charm. Sometimes, a "mistake" can lead to a new, cool idea.
The more you make, the better you'll get. And honestly, the joy is in the making, not just the finished product. It's a bit like learning to recharge your AC; it might seem hard at first, but with practice, you get the hang of it, pretty much.
Frequently Asked Questions About DIY Birthday Cards
People often have a few questions when they first start making their own cards. Here are some common ones that might help you out, too.
What can I use to make a birthday card?
You can use a lot of different things! The basics are cardstock, scissors, and glue. Beyond that, think about markers, colored pencils, crayons, stickers, glitter, ribbons, buttons, or even bits cut from old magazines. You can really get creative with whatever you have lying around, honestly. The idea is to repurpose and reuse, which is a bit like how you might approach a home repair project.
How do you make a simple birthday card?
A very simple card starts with folding a piece of cardstock in half. On the front, you can draw a simple picture, like a balloon or a cake. Or, just write "Happy Birthday" in big, colorful letters. Inside, write a heartfelt message. That's it! You don't need fancy tools or techniques to make something meaningful, you know? Sometimes, less is more, particularly for a quick but thoughtful gesture.
What is a good message for a handmade card?
The best messages are personal ones. Start by wishing them a happy birthday. Then, you could mention a specific quality you admire about them, a fun memory you share, or something you hope for them in the coming year. For example, "Happy Birthday, [Name]! I always appreciate your amazing sense of humor. Hope your day is filled with joy and cake!" Keep it sincere and positive, that's the main thing, really.
Keeping Your Card-Making Journey Fresh
Making cards is a skill that grows with you, just like any DIY project. The more you do it, the more ideas you'll discover, and the more comfortable you'll feel experimenting. It's a continuous learning process, a bit like staying updated on the latest PC configurations or drone building tips, you know?
Keep an eye out for new materials or techniques. Maybe try a different type of fold next time, or experiment with watercolor paints if you haven't before. There's always something new to learn and try in the world of paper crafts. And remember, the real joy comes from the act of creating and giving something from your heart. It's a beautiful way to connect with people, and that's something truly special. You can always find more ideas and inspiration for creative projects right here on our site, too, like when you explore our main page for other exciting DIY endeavors. Also, if you're keen on exploring more ways to craft personal items, consider checking out our page on homemade gift ideas for even more inspiration.
- The Weeknd Asian Actress
- Shania Twain Party For 2
- Spring Break Bikini Pics
- Rita Ora The Voice
- Ferry Boat Nassau Bahamas