There's something truly special about seeing a shooting star streak across the night sky, isn't there? It’s a fleeting moment of magic, a whisper of wonder, and for many, a chance to make a silent wish. Capturing that sudden burst of light, that feeling of awe, with your own hands, can be incredibly satisfying, almost like holding a piece of the cosmos right there on your page. You know, it's a way to keep that brief, beautiful sight with you, long after it has faded from view.
Turning those quick, bright flashes into something lasting, something you can look at again and again, is a pretty cool idea. It’s about taking a moment that feels so quick, so incredibly fast, and making it stand still in a picture. This kind of drawing lets you explore that sense of speed and light, and the vast, dark spaces that hold such wonders.
And the good news is, getting started with this kind of drawing is perhaps more open to everyone than you might think. Whether you've drawn a lot before or are just picking up a pencil for the first time, there are ways to bring these celestial streaks to life. It's almost like you don't need to be a professional artist to feel that joy of creating something truly special, you know.
- Mike Mcglynn
- Dominic Chianese Album
- Stephanie Abrams Photos
- Dark Skin Tattoo Artist
- Are Wax Melts Harmful
Table of Contents
- What Makes a Shooting Star So Captivating?
- Getting Ready to Draw Your Shooting Star
- What Tools Do You Need for Drawing Shooting Star Art?
- Simple Steps for Drawing Shooting Star Magic
- Adding Sparkle - Drawing Shooting Star Trails
- Can Anyone Really Draw a Shooting Star?
- Sharing Your Drawn Shooting Star Masterpiece
- A Quick Look at Tools for Your Creative Flow
- Summary of Your Artistic Journey
What Makes a Shooting Star So Captivating?
So, what is it about a shooting star that really grabs our attention? Is it the way it cuts through the quiet darkness, a sudden, bright slash of light? Or is it the thought that it's a tiny piece of something truly huge, something from far, far away, making its brief appearance just for us? It's really quite a spectacle, you know. There's a certain mystery to them, too, a feeling of something special happening, just for a moment, and then it's gone.
People often connect these fleeting lights with wishes, with hopes, and with dreams. It's like seeing one is a sign, a little nudge from the universe. When you think about drawing one, you're not just putting lines on paper; you're trying to capture that feeling, that sense of wonder and possibility. It's a way to hold onto that brief, inspiring sight, making it last a little longer than its actual time in the sky, you know.
The speed, the trail of light it leaves behind, the contrast with the deep, dark backdrop of space – all these elements make a shooting star a truly striking visual. When you draw it, you get to play with those ideas: how to show something moving so quickly, how to make light glow against darkness, and how to suggest the vastness of the cosmos. It's a rather interesting challenge for anyone who likes to put their thoughts into pictures, actually.
- Jordan Wiseley Movies And Tv Shows
- Horror Hosts
- Scooby Doo Mystery Cases
- Stereotype Lift
- Overcurl Mascara
Getting Ready to Draw Your Shooting Star
Before you even pick up a pencil or open a drawing program, it's often a good idea to spend a little time thinking about what you want your shooting star to look like. Will it be a bright, single streak, or will it be part of a bigger picture with other stars and perhaps a distant planet? You know, just taking a moment to picture it in your mind can really help. Maybe look at some pictures of actual shooting stars or meteor showers to get a sense of how they appear.
Consider the mood you want to create. Is it a calm, peaceful night, or something more dramatic and energetic? The colors you choose, the way you make the light glow, and even the background elements will all help set that feeling. It's almost like you're telling a small story with your picture, so think about what that story might be, you know.
You might also want to think about the direction your shooting star is traveling. Is it coming straight down, or streaking across the sky at an angle? This will affect how you draw its trail and how it fits into the overall scene. A little bit of planning, just a little, can make the actual drawing part flow much more smoothly, which is nice.
What Tools Do You Need for Drawing Shooting Star Art?
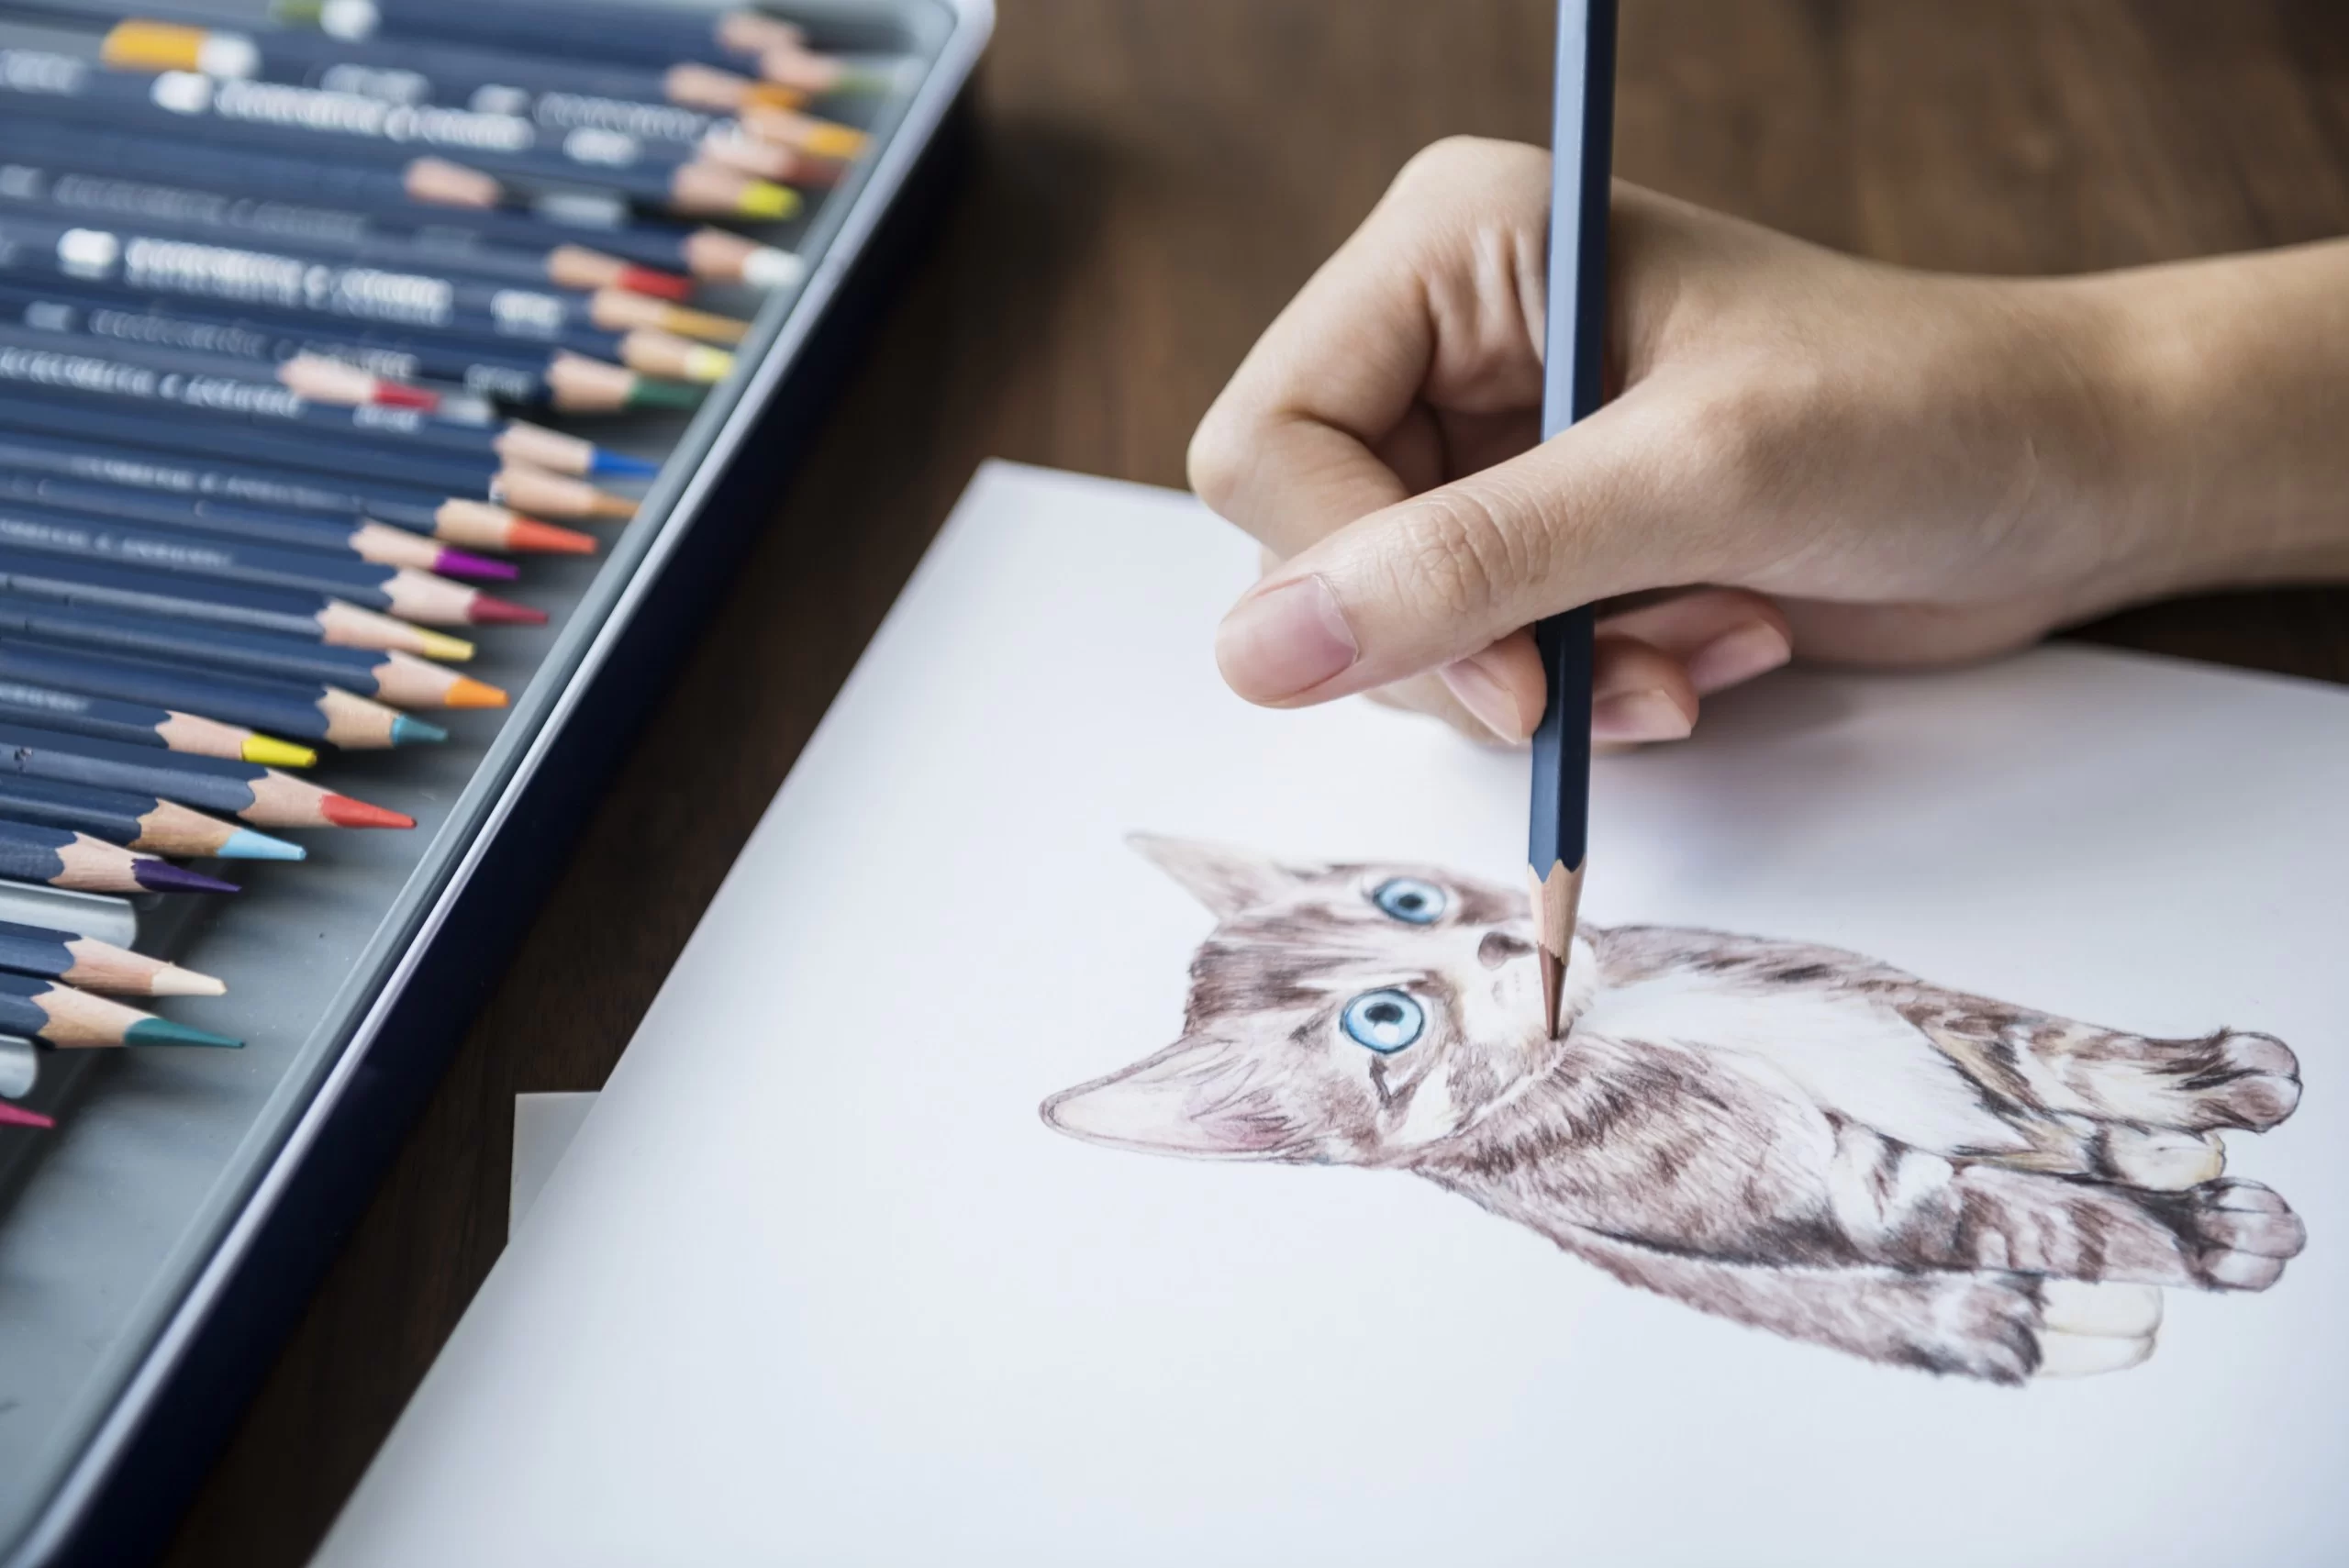
When it comes to putting your ideas down, you have quite a few choices for your drawing shooting star project. For those who like the feel of traditional art supplies, you might want to gather some paper, pencils of different softness levels, and perhaps some colored pencils, pastels, or paints. Black paper can be particularly good for making bright lights really stand out, you know, against a dark sky.
If you prefer working on a screen, there are many digital drawing tools available. These can be quite handy because they often let you undo mistakes easily, and you have a huge range of colors and brushes right at your fingertips. Some of these programs are even free to use, which is pretty neat. You know, you can experiment with light effects and blend colors in ways that might be harder with physical materials.
For digital artists, a drawing tablet with a stylus can make a big difference, giving you more control than just using a mouse. But even without one, you can still create something lovely. The main thing is to pick tools that feel comfortable for you to use, so you can focus on the creative part, rather than struggling with the equipment, you know.
Simple Steps for Drawing Shooting Star Magic
Let's get into the actual drawing of your shooting star. A good way to start is by sketching out the basic shape of the star itself. Think of it as a small, bright point, perhaps a little elongated to suggest speed. Don't worry about making it perfect at first; this is just to get the general placement down. You know, just a light touch.
Next, you'll want to add the tail, which is arguably the most recognizable part of a shooting star. This tail should usually be wider at the point closest to the star and then get narrower as it stretches out. It should also curve slightly to show the path of movement. Think of it like a wispy cloud following behind, rather than a solid line. It's almost like a brush stroke, so to speak.
After you have the basic shape of the star and its tail, you can start to refine the lines and add some shading or color. If you're using traditional materials, you might use lighter pressure for the edges of the tail and stronger color for the star itself. For digital art, you can use softer brushes and blending tools to get that glowing effect, you know, that really makes it pop.
Remember that the background is also very important. A dark, starry sky will make your bright shooting star stand out beautifully. You can add tiny dots for distant stars, perhaps some fainter ones in the background to give a sense of depth. This really helps to set the scene for your cosmic traveler, you know.
Adding Sparkle - Drawing Shooting Star Trails
The sparkle and glow of a shooting star's trail are what really bring it to life. This isn't just a solid line; it's a shimmering path of light and perhaps a little bit of cosmic dust. To get this effect, you can use lighter colors or even white, especially if you're working on a dark background. You know, making it look almost transparent at the edges.
For traditional drawings, you might use a soft eraser to lift a little color from the tail, creating a faint glow, or layer light colors over darker ones. If you're using paints, you can thin your paint for the tail or use a dry brush technique to get a wispy look. It's all about making it look like it's fading into the darkness, you know.
In digital art, you have a lot of tools for this. You can use soft airbrushes, blur filters, and even layer different shades of light to build up a convincing glow. Adding a few tiny, scattered dots of light along the trail can also give the impression of sparks or smaller bits breaking off, which is pretty cool. This really adds to the dynamic feel of your drawing shooting star, making it appear to move.
Consider adding a very subtle halo of light around the main star part, too. This helps to emphasize its brightness and the energy it carries. It's almost like a soft aura, just a little bit, that helps it stand out from the rest of the trail. Experimenting with different levels of transparency and light will help you find the look you like best, you know.
Can Anyone Really Draw a Shooting Star?
The short answer is, yes, absolutely! Drawing a shooting star, or anything really, is more about enjoying the process and expressing yourself than it is about being a professional artist. Everyone starts somewhere, and every picture you create helps you learn a little more. You know, practice truly makes a difference, but so does just having fun with it.
Don't worry too much about making your first attempt perfect. The goal is to simply put your ideas down and see what happens. Sometimes the most interesting pictures come from unexpected places, or from what some might call "mistakes." Those can actually be happy accidents, you know.
There are tons of resources out there to help you, from simple guides like this one to video tutorials and online communities. If you get stuck, try looking up different ways other people draw shooting stars to get new ideas. It's almost like there's always something new to learn, so don't be afraid to explore. The main thing is to keep at it and enjoy the act of making something new, which is pretty rewarding.
Remember that art is a very personal thing. Your shooting star doesn't have to look exactly like someone else's. It should reflect your own unique view and feeling. That's what makes it truly special, you know. So, pick up your tools and give it a try; you might surprise yourself with what you can create.
Sharing Your Drawn Shooting Star Masterpiece
Once you've finished your drawing of a shooting star, it's a great feeling to share it with others. Showing your work can be a wonderful way to connect with people, get some kind words, and even inspire others to try drawing themselves. You know, it's a way to let your creativity shine beyond your own space.
If you've drawn your shooting star on paper, you could take a good quality picture of it with your phone or a camera. Make sure the lighting is even and there are no weird shadows. Then, you can share that picture online, perhaps on social media platforms where other artists hang out, or just with your friends and family. It's pretty straightforward, actually.
For those who create digital art, sharing is often even simpler. Many drawing programs let you save your picture in common file types, like those JPGs or PNGs, which are great for sharing online. You can often upload them directly to websites or send them in messages. Some tools even let you save them as scalable vector graphics or PDF documents, which are handy for printing or other uses, you know.
Don't be shy about showing what you've made. Every piece of art, no matter how simple or complex, has a story behind it, and sharing that story can be a really positive experience. It's almost like you're putting a little piece of yourself out there, and that's something to be proud of, you know.
A Quick Look at Tools for Your Creative Flow
Speaking of drawing programs, it's worth mentioning that there are some really neat ones out there that can help you bring your ideas to life, whether it's a shooting star or something else entirely. For example, there's this neat drawing helper you can find on the internet, and it doesn't cost anything, so anyone, no matter how old they are, can get creative. It's pretty accessible, which is a big plus.
With this kind of program, you can make cool pictures on your computer and then show them to friends on the internet. You can also save them in ways that lots of places can open, like those common picture files, you know, the ones like JPGs, PNGs, and even those that scale up without getting blurry, or ones for documents. This makes it really easy to use your art in different ways.
This sort of program is available right there on the web, or you can even put it on your home computer, whether it's a PC or a Mac. So, you have options for how you want to use it, which is rather convenient. It means you can draw almost anywhere you have your computer, you know.
So, whether you're putting together something for school, maybe a poster, or just thinking up what your next comic book hero will look like, this kind of drawing helper makes it pretty straightforward to get those thoughts out of your head and onto the screen. It really helps to make the creative process less of a struggle, you know, and more about just letting your ideas flow.
You can draw with ease, change up your pictures, or even put together a new card for your work, you know, like a business card. It's quite versatile, letting you do more than just simple drawing. It helps you put together pictures for things like what you share on social media, or those little ads you see online, or for printing on paper, or even on clothes, which is pretty cool and very useful.
And then there's a mobile version, which is a drawing helper that really uses the new things that today's phone internet browsers can do, giving you more ways to create. This means you can even draw on the go, which is quite handy for when inspiration strikes. It gives you a fun and somewhat new place to show what you're feeling, using lots of colors, you know, to really let your ideas shine through.
Summary of Your Artistic Journey
We've talked about the magic behind drawing a shooting star, from what makes them so captivating to getting your drawing space ready. We covered the different tools you might pick up, whether you like traditional pencils or digital screens. We also went through some simple steps for putting that cosmic streak onto your page, including how to make those trails sparkle just right. We considered how anyone can give this a try and the joy that comes from sharing what you've made. And we took a quick look at how helpful some drawing tools can be for all sorts of creative projects.
- Stephanie Abrams Photos
- What Is Wife In Spanish
- Jessica Simpson In Bikini
- Short Cornrow Braids
- 1113 Meaning